How do I use the Countermark Word Add-In?
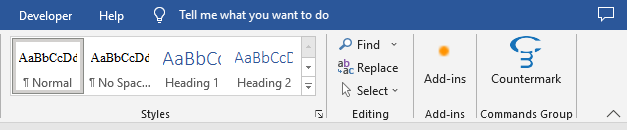
Once installed, the Countermark Word Add-in is placed on the right hand side of the Home ribbon.
Clicking on the Countermark Word Add-in icon causes it to appear next to your document.
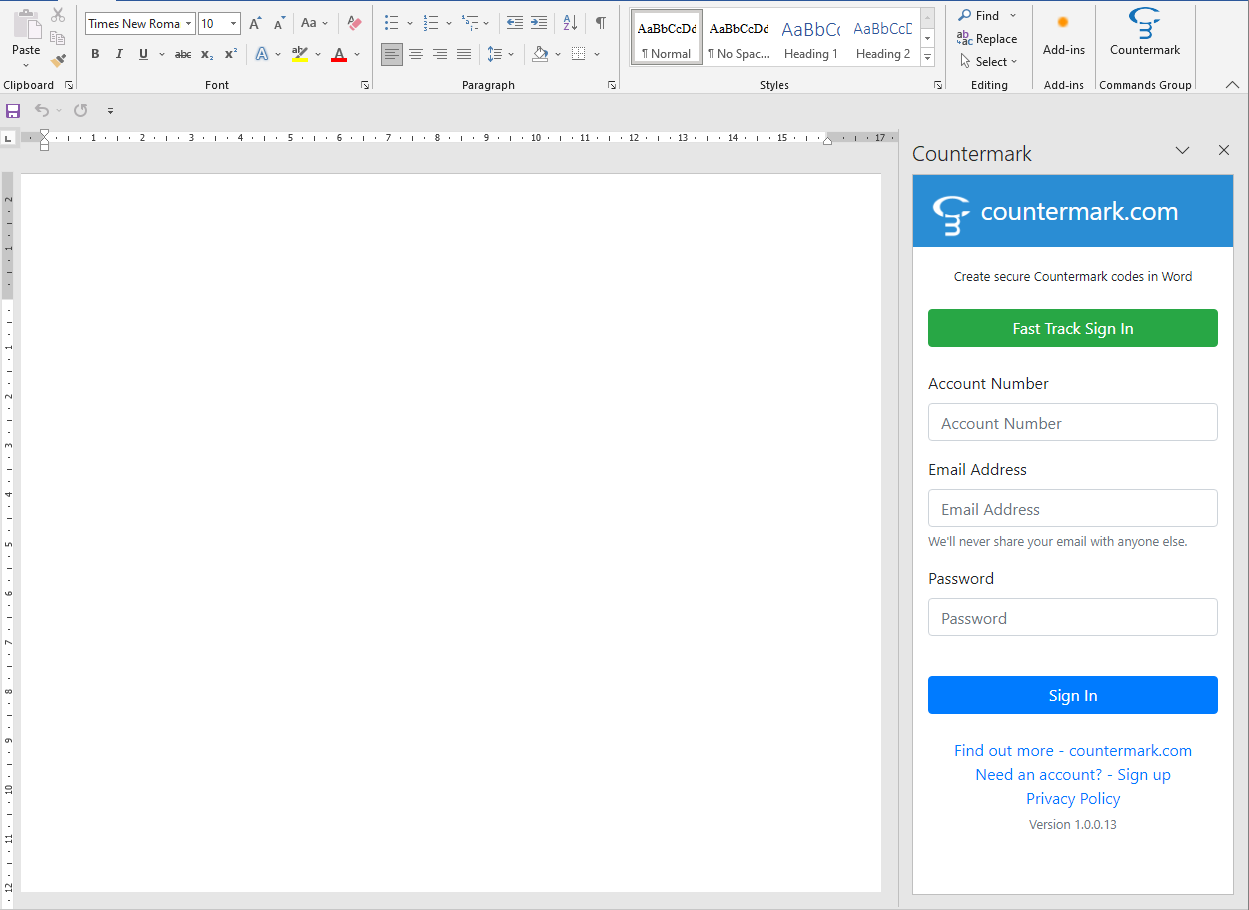
You need to sign in to the Countermark Add-in before it can be used. Enter your Account Number, Email address and Password that were provided by your Countermark Account Holder. This will be the person that set the account up initially. Press the Sign In button.

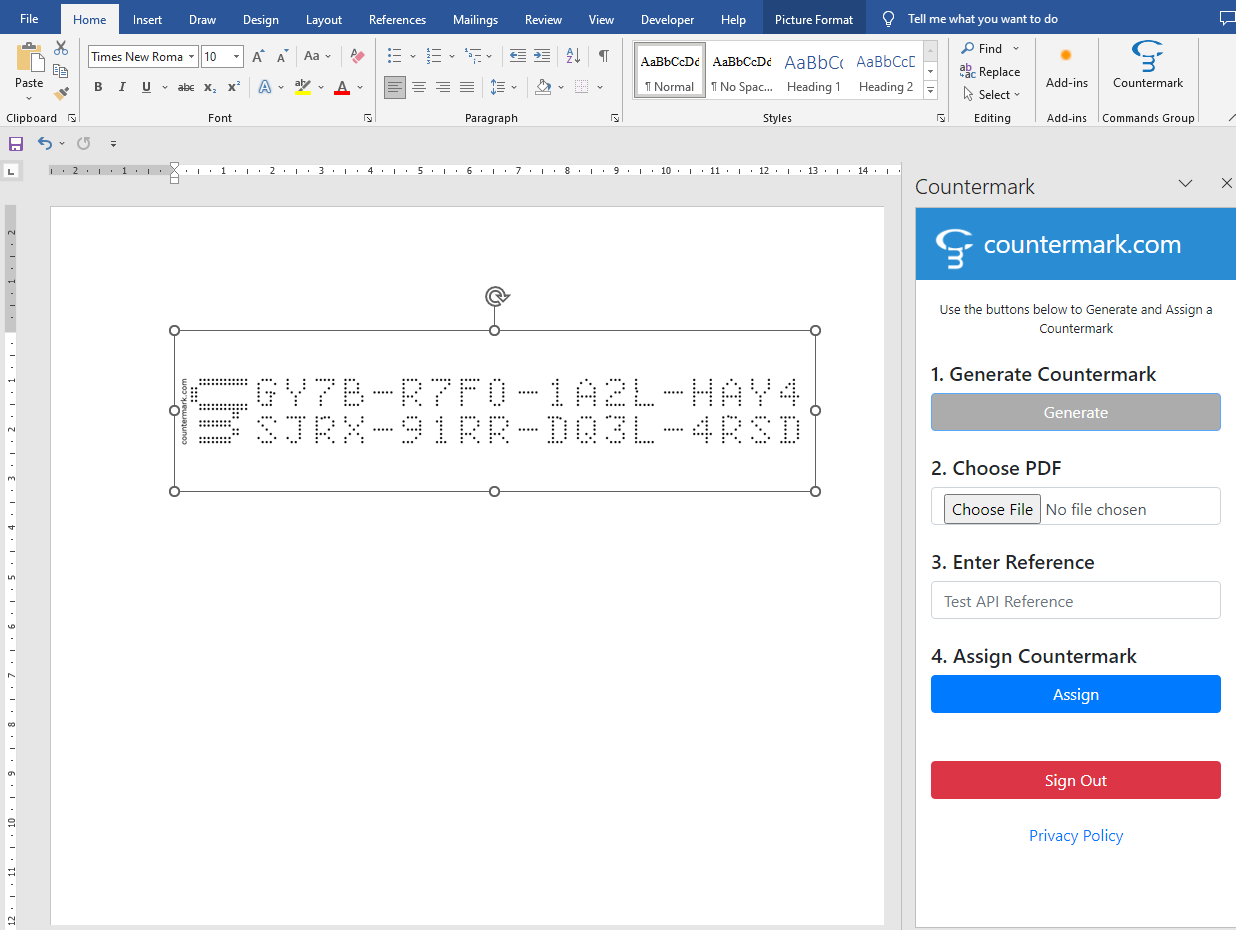
The Add-in now shows the 4 steps required to create a Countermark. In this example the Word Add In API has been set to use PDF attachments.
1. Generate Countermark:
To insert a Countermark, place the curser on the word page where you wish the Countermark to be placed and press the Generate button.
The Countermark appears on screen and can be moved or rotated like any other image. Take care not to change the aspect (width/height) ratio of the Countermark image or apply any other kind of image filtering as this will affect the readability and decoding.
When you have completed your edits to the word document, save the word file then print using ‘Microsoft print to PDF’ option to generate a PDF copy of the document.
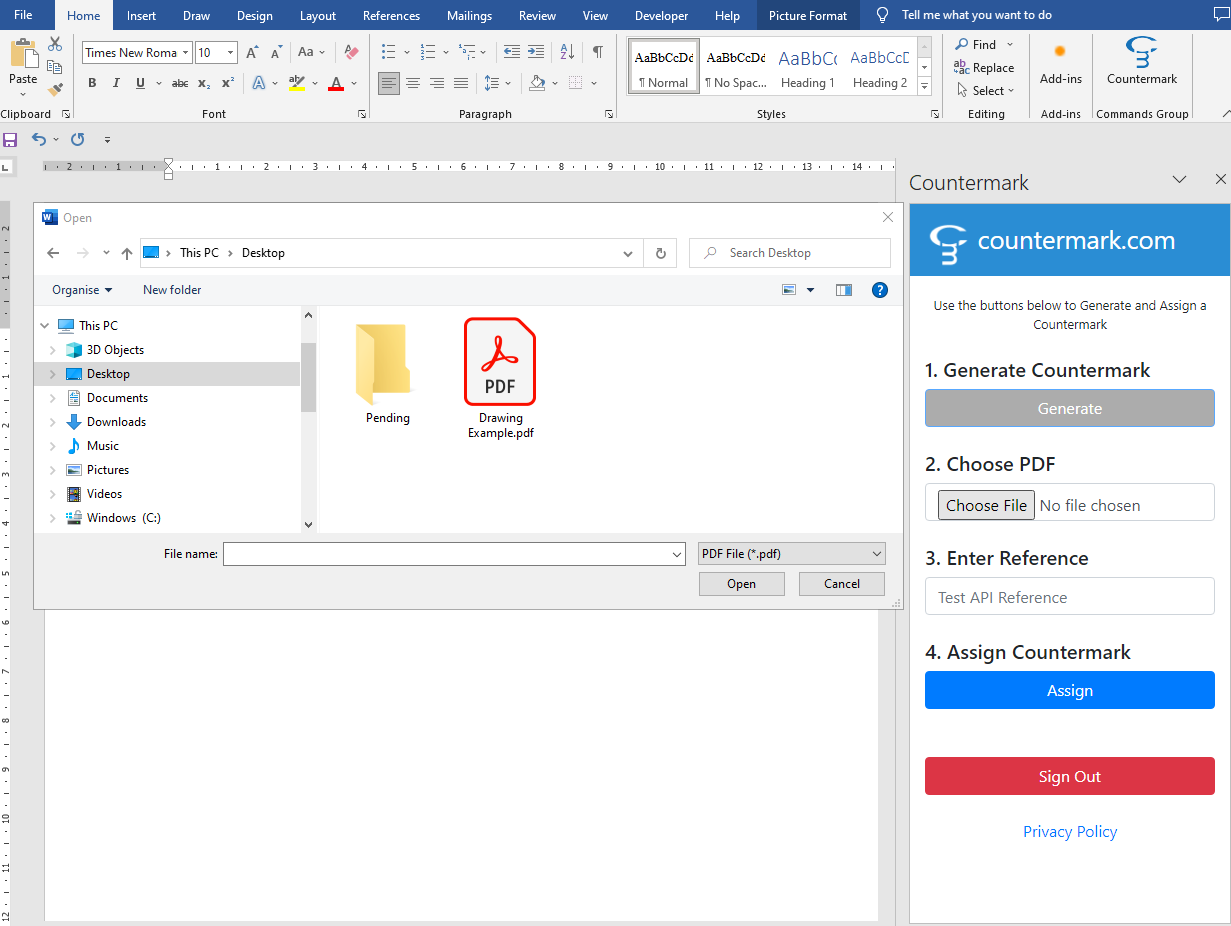
2. Choose PDF:
Define the PDF file to be sent to the phone when the Countermark is read. Navigate to the PDF file using the Choose File button and press Open once your PDF file has been located.
3. Enter Reference:
Update your Reference information in the box provided. This information is visible to the Account Holder and will help keep Countermarks aligned to your organisation’s method of working.
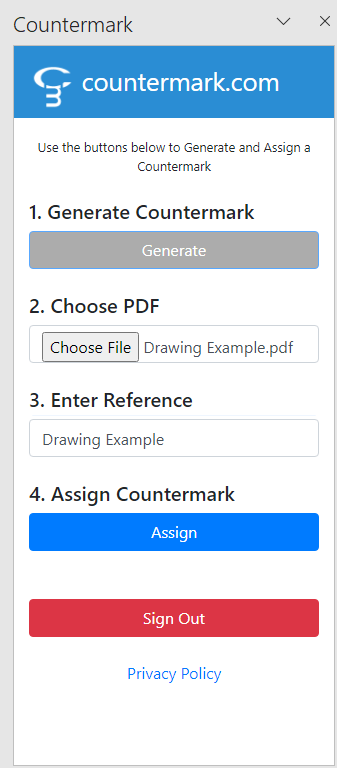
4. Assign Countermark:
Press the Assign button to complete the procedure.
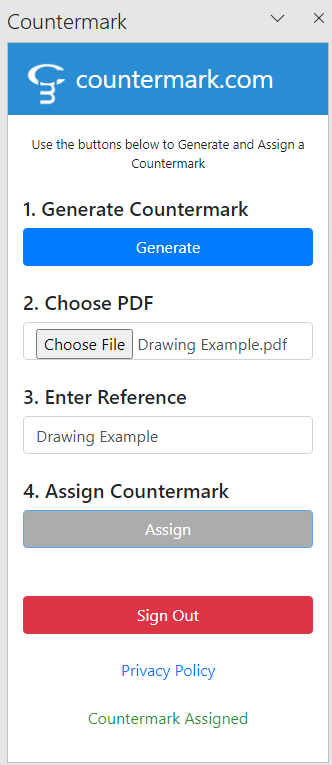
The Countermark in your document is now linked to the file it is representing, and access to this file is now controllable.
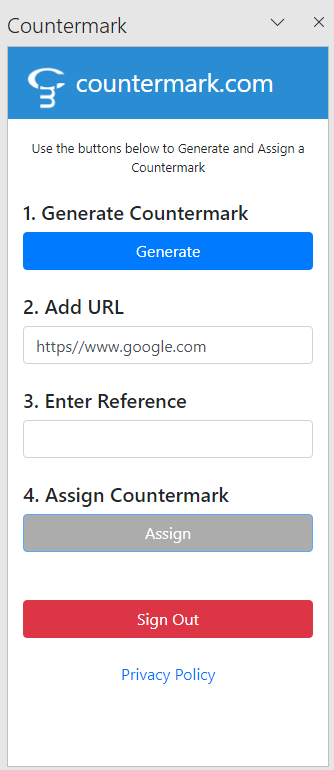
Countermarks can also be used to link to a website.
The process is similar, but requires the Account Holder to adjust the API default value for attachment type to use URL instead of PDF. The Issuer can then re-sign into the Word Add-in and then be able to assign a URL to a newly generated Countermark in a Word Document.
The URL https://google.com is shown as an example.